Introduction
Setting up a real estate website has never been easier. With Havenlytics, you can quickly import and manage property listings using a powerful setup wizard and bulk import system.
In this guide, you’ll learn how to import properties step-by-step, configure taxonomies, add media, and launch your real estate listings in minutes.
Watch: How to Import Dummy Properties in Havenlytics
Setup Wizard Overview
After activating the Havenlytics plugin, the Setup Wizard automatically launches to help you configure essential settings.
You can skip it, but completing the wizard is highly recommended for the best experience.
Step 1: Select Department & Configure Taxonomies
Start by choosing a Property Department. Each department works independently, giving you full flexibility.
Available Departments:
- Sale
- Rent
- Commercial
- Let
Configure Taxonomies:
- Property Type – Apartment, villa, office
- Property Status – Available, sold, pending
- Badges – Featured, hot listings
- Tags – Improve search visibility
- Locations – Assign geographic areas
- Features – Pool, garage, garden, etc.
This structure ensures your listings are well-organized and easy to filter.
Step 2: Configure Location & Address
Set a default location and address for all imported properties.
This improves:
- Map accuracy
- Search filtering
- User experience
All imported properties will automatically use these details.
Step 3: Configure Property Media & Map Location
Enhance your listings with rich media and location data.
Video Settings
- Add YouTube or Vimeo property tours
- Auto-generated thumbnails
- Increase engagement and conversions
Property Gallery
- Automatically assign 3 images per property
- Improve visual presentation
Map Location
- Set default location (e.g., Austin, TX)
- Add latitude & longitude
- Display map preview
This ensures accurate geolocation for all listings.
Step 4: Set Import Preferences & Start Import
Now configure how your properties will be generated.
Properties to Import
Choose how many listings to create:
- 10 (default)
- 50
- 100
- 150
- 200 (maximum)
Import Options
- Include Images – Add images automatically
- Email Notifications – Get import updates
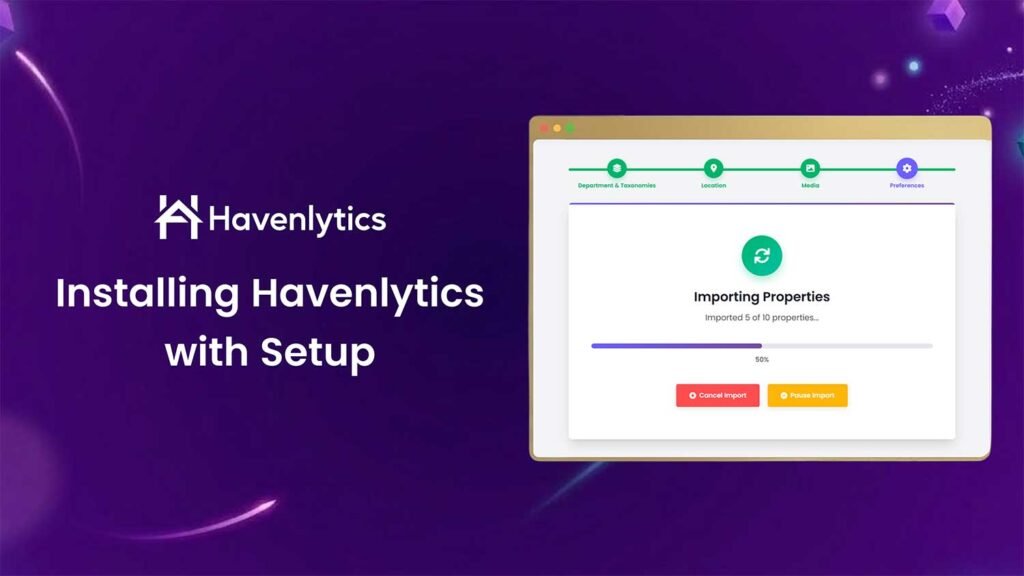
Start Import
Click “Complete” to begin importing properties instantly.
Once finished, click “View Properties” to see all listings.
Step 6: Refresh Permalinks (Final Step)
To avoid URL issues:
- Go to Settings → Permalinks
- Select Post Name
- Click Save Changes
This refreshes your site structure and ensures everything works perfectly.
Final Result
After completing all steps, you will have:
- Fully imported property listings
- Organized taxonomies and filters
- Media-rich property pages
- Working map integration
- Optimized frontend layouts
Your real estate website is now ready to go live 🚀
Pro Tips
- Start with 10 properties for testing
- Use the builder to customize layouts
- Enable caching for better performance
- Use filters to improve user experience
Conclusion
Havenlytics makes property import and management fast, flexible, and beginner-friendly. With its powerful setup wizard and advanced builder, you can launch a professional real estate website without coding.